Kid-friendly papercraft: Spaceship

Many papercraft printables are not accessible to younger children – they require motor skills that only come with age. At the same time, papercrafts are a perfect pastime for young children: They teach important construction and manual skills in a playful way, let children learn about shapes and geometry, and they provide a lot of space for creativity.
And paper toys can be painted, modified, extended, reshaped. They don’t require fancy (and potentially dangerous) tools, just scissors (kid-safe crafting scissors recommended) and glue.
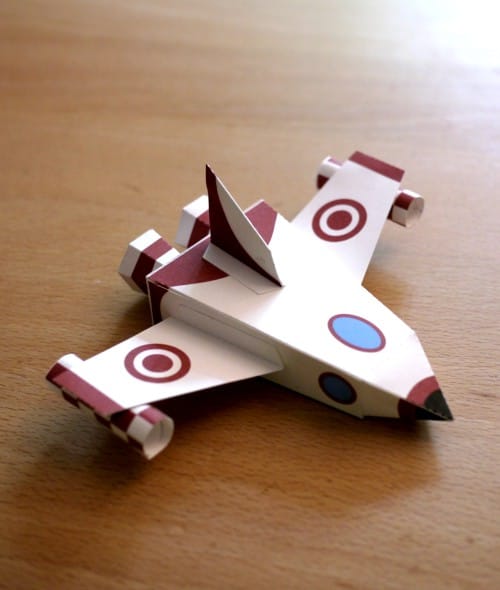
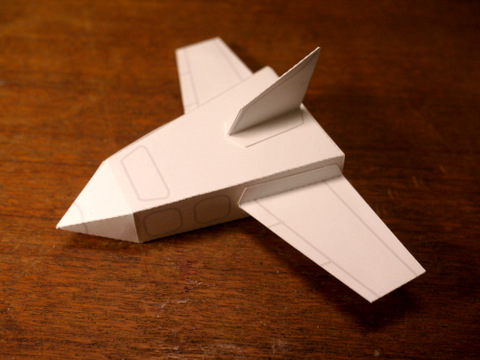
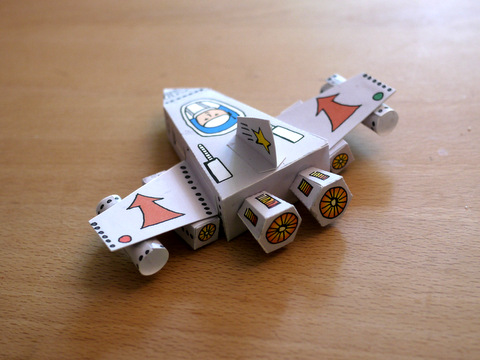
Therefore, I embarked on a journey to create a papercraft model that is very easy to build, and at the same time cool enough to get kids excited. Voila, the spaceship, suitable for children 5 years and older:
Not only is this really simple, but it’s customizable and can be built in a number of different ways. The simple, large surfaces allow for post-build modifications, and there is a blank version for coloring. The model is sturdy and robust, making it surprisingly fit for rough play.
5 year olds may need a bit of assistance here and there, but kids in school should have no problem building these.
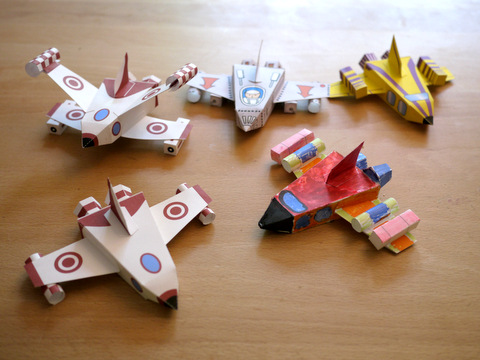
The spaceship comes in four designs. The first one is a blank one, for coloring yourself:

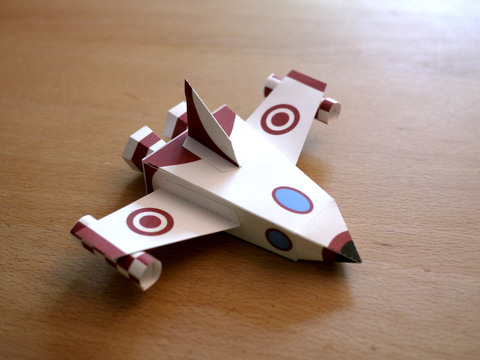
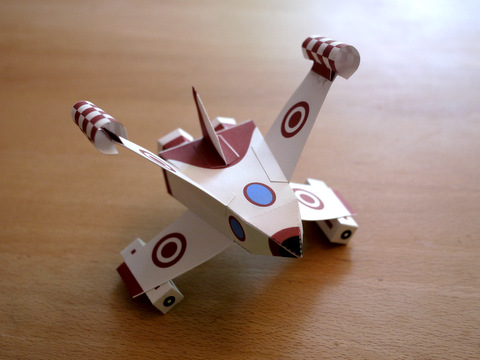
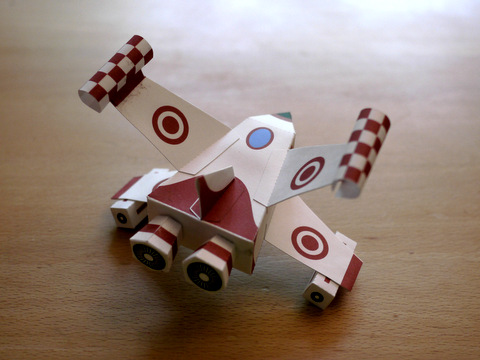
The blank template has the added advantage of requiring very little ink. The second is an elegant eggshell / red design:
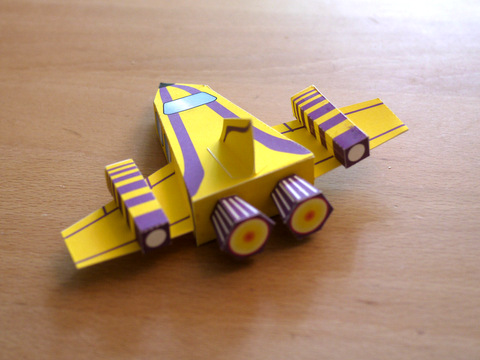
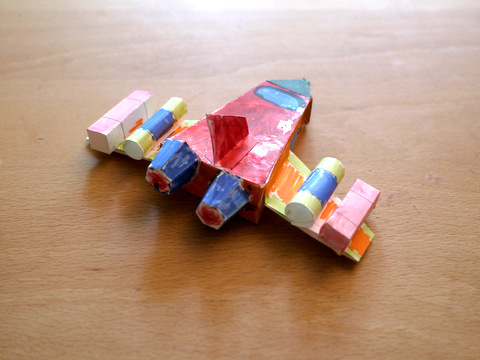
Then, we have the bolder yellow / purple ship, which happens to be my son’s favorite:
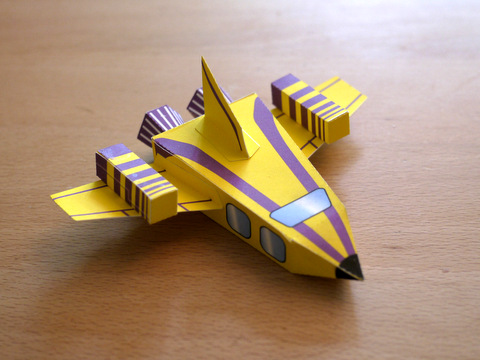
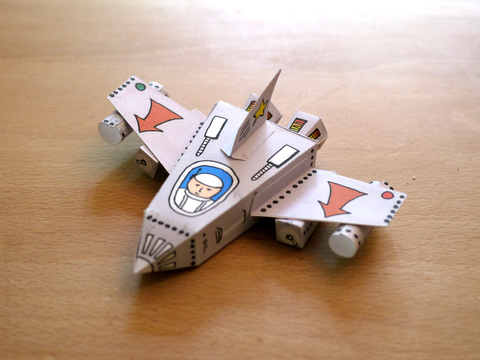
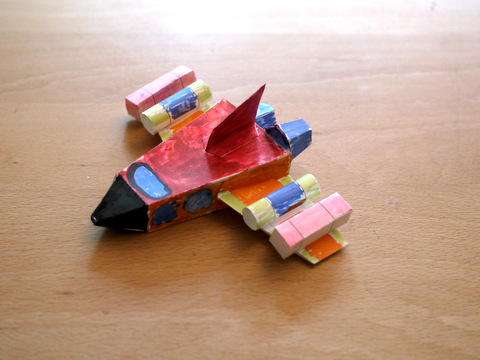
And finally a more hand-painted look, reminiscent of vintage tin toys:
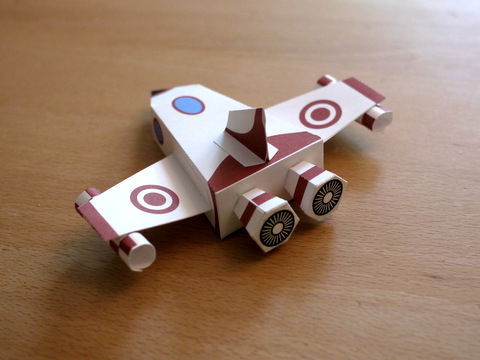
The ship consists of the main body, which is a roughly square box with an added pyramid tip; of two wings, one vertical stabilizer, two rocket nozzles, two cylindrical and two square jet engines.
I haven’t added specific attachment points for these elements. You can glue them on in various ways, and that’s part of the fun: You can print out four wings instead of two and have an X-wing configuration, for instance:
The jets can be attached on top of or below the wings, and you can of course have more than two if you like.
Here is a custom paint job by my daughter:
So how do you build it? Download one of the templates at the bottom of this page, and get started by cutting the parts out along the solid lines. Then start with the ship’s body. The flaps are numbered, and the corresponding faces to which they are supposed to stick have the same number.

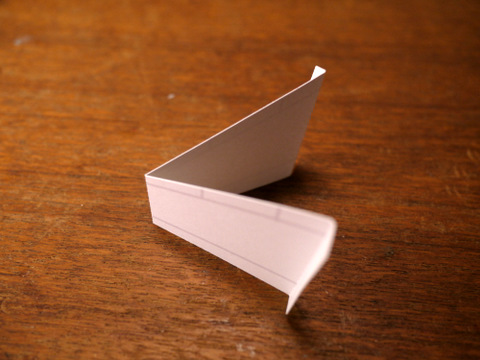
Fold the body along the long sides, and glue flap number 1 to the corresponding face.
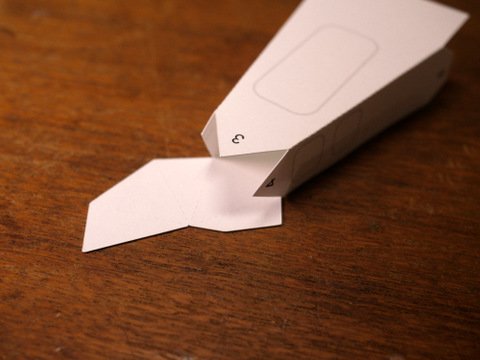
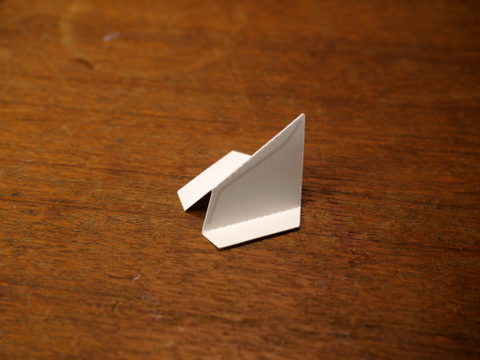
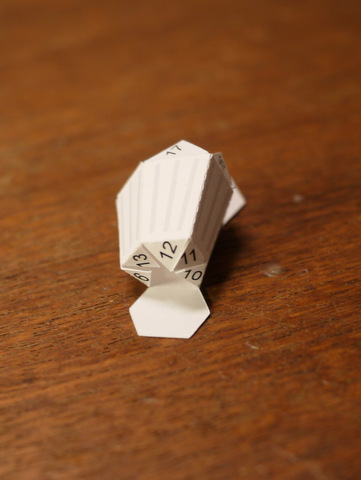
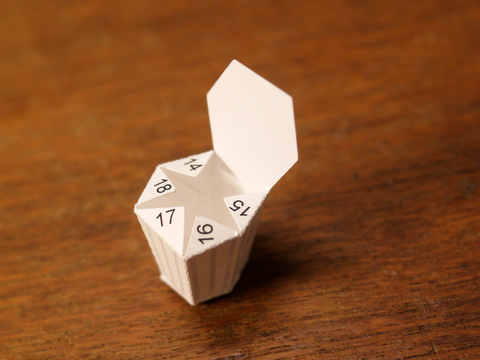
Next, fold the tip (or ‘pyramid’), and glue flaps number 2 and 3.
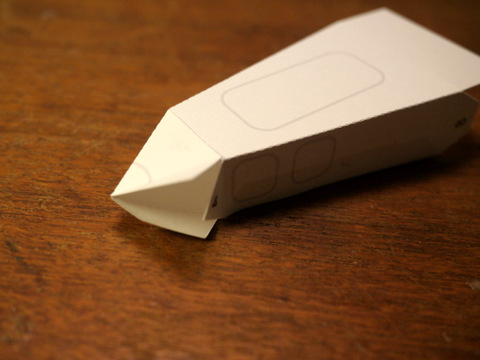
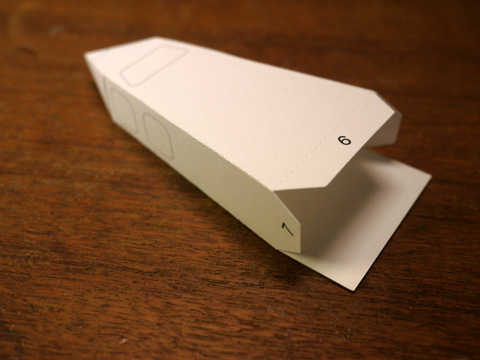
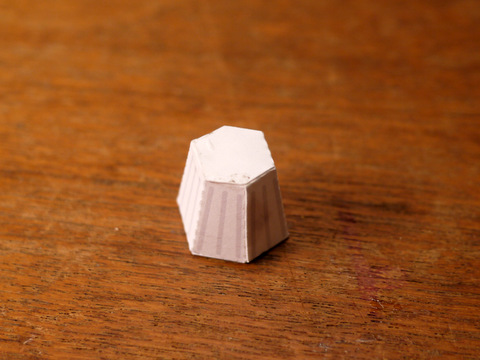
Now close the tip by gluing on flap number 4. And finally, close the back by gluing on flaps 6-8:
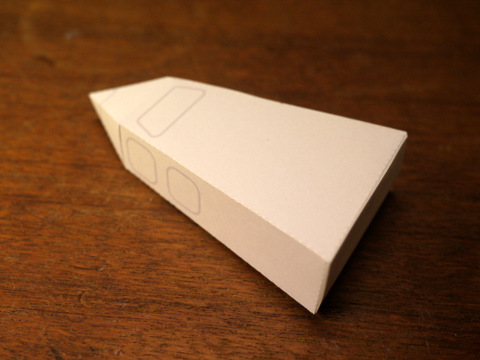
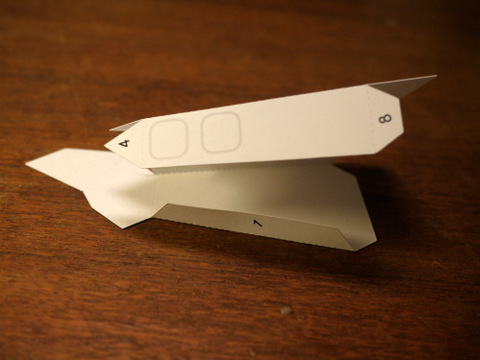
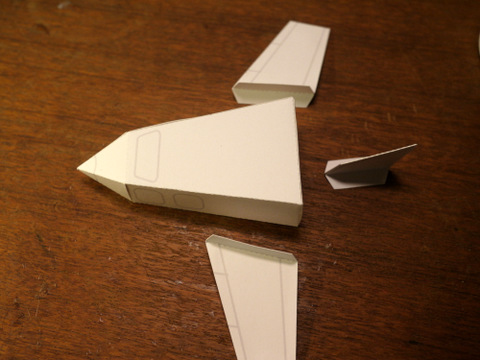
That’s it – the hardest part is over. Now on to the wings and stabilizer: Fold them in the middle onto themselves, then attach them to the body. You can either put them onto the sides, or attach them to the corners, so that they are angled upwards or downwards – or any combination.
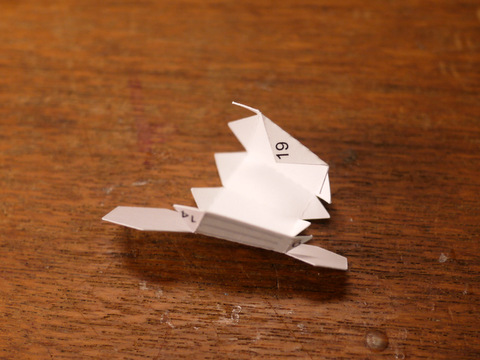
Already looks like a spaceship, right? Okay, on to the accessories, starting with the rocket nozzles:

Fold them along the long sides, then glue flap number 19 onto the opposite face, creating a cylindrical shape.
Now glue on the covers on both ends:
And you’re done. You can now attach the nozzles to the back of the ship (or the bottom, if you want to have a VTOL spaceship. What’s that, you don’t know what VTOL means? Why, vertical take-off and landing, of course.
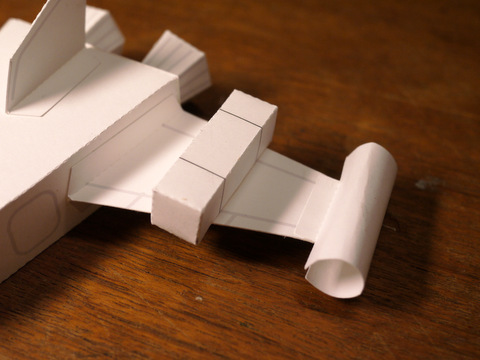
Next, we have cubic jet engines (or rocket launchers, or tractor beam units, or high powered lasers, or … whatever your imagination comes up with):
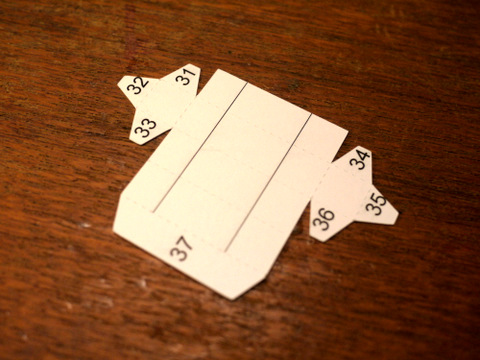
These are quite simple: Fold the small faces up, and glue flaps 35, 36, 32, and 33 into place:
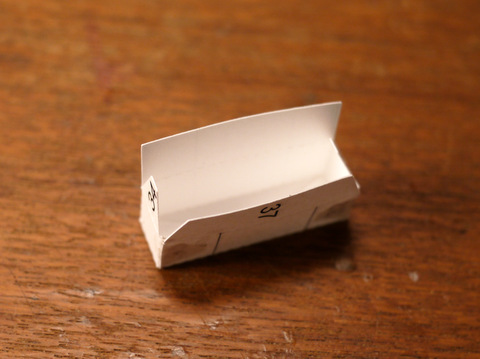
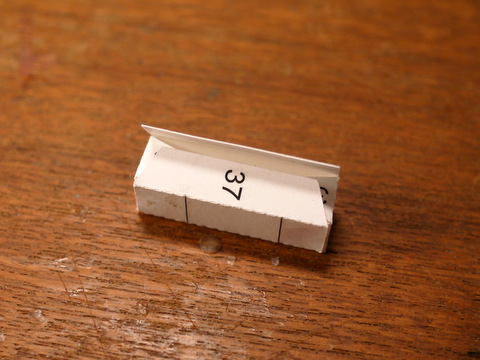
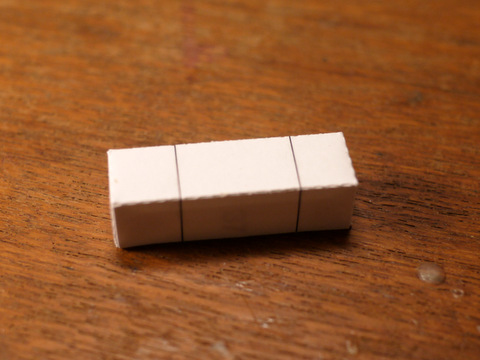
Finally, close the shape by gluing on the last open face:
Alternatively (or additionally), you can use the round jet engines (or rocket boosters, or proton beams, or… you get the idea):
Convince them to take on a round shape by wrapping them around a pencil or wooden rod:
Then simply glue on end to the other:
Be patient and wait until the glue has really set – these things tend to become loose if you don’t.
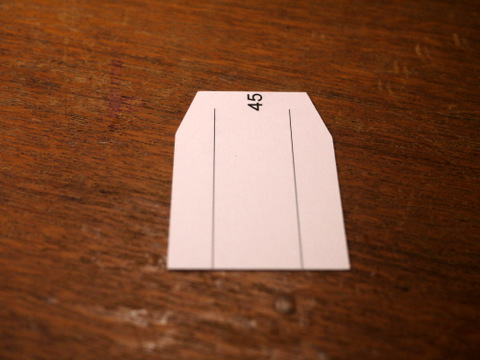
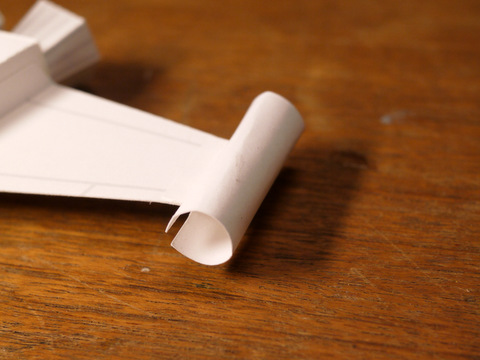
And finally, there is a very similar cylindrical shape, supposed to go to the tips of the wings:
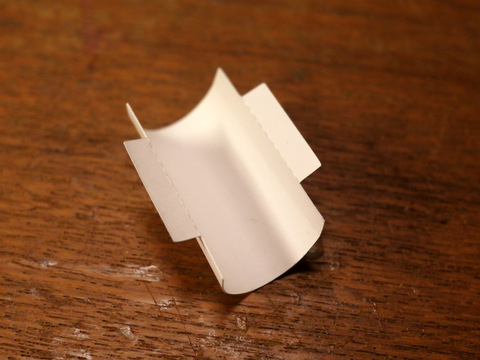
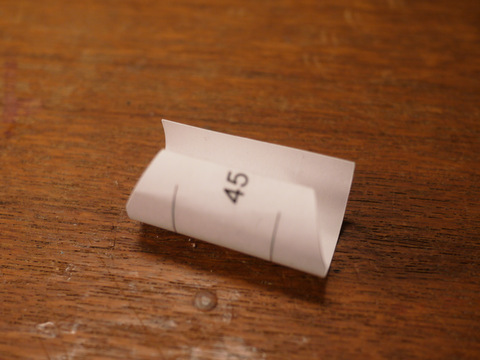
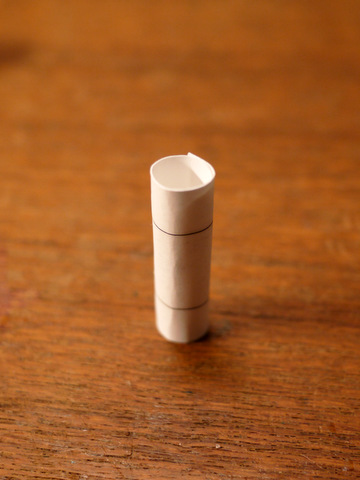
Here, as before, wrap the shape around a pencil, then glue the two small flaps to the tip of the wing, like so:
You can now add your accessories where and how you like, such as:
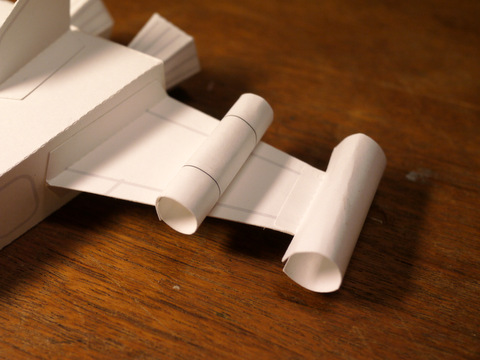
Okay, so keep in mind that this is highly customizable, and there is no right way of doing it. In fact, the ship is generic enough so that it should encourage your kids to extend it with their own designs. How about antennae made from toothpicks (careful with the eyes, though!), landing gear, or an on-board robot?
Here are the templates:
